Installation
Before You Begin Your Garage Installation
Swisstrax interlocking flooring tiles must be site conditioned at room temperature (72° F or higher) for a period of 24 hours prior to installation. It is ideal to put the tiles which will be placed at the front of the garage in the direct sunlight for a period of time prior to installation to allow the tiles to expand, especially if they will be exposed to direct sunlight when the garage door is open.
Tools you may need:
Circular Saw, Jig Saw or Table Saw
Measuring
Tape

Marker
Gloves
Knife
Shop Vac
Broom
Leaf Blower

Safety Glasses
Swisstrax Installation Steps
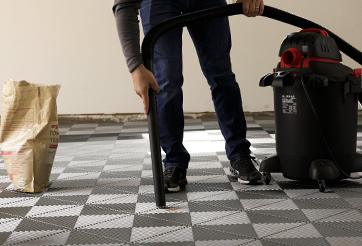
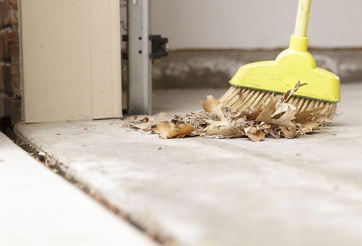
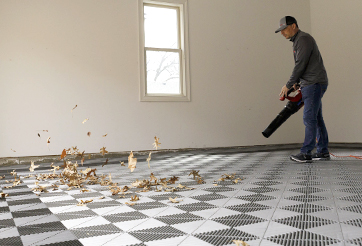
- Step 1 - Preparation
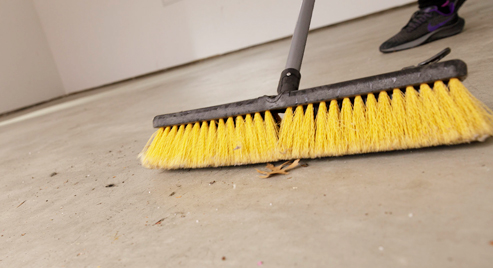
- Clear the flooring surface of any removable objects and or items.
- Sweep or vacuum any excess dirt and debris off of the flooring surface.
- *Our garage floor installation instructions are based on a garage with no specific features like cabinets or built in counters.
![FAQ Sweep]()
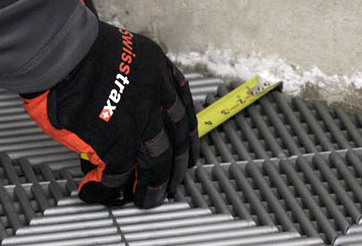
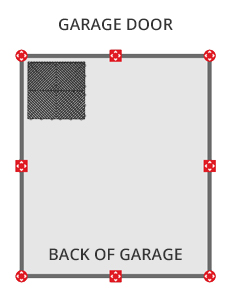
- Step 2 - Locate Starting Point
- We suggest you print out or have your finished design layout handy before you start your installation.
- In your garage stand facing your garage door opening. Locate the top-left corner of your garage.
- *A minimum expansion gap of ¼” (Ribtrax, Ribtrax Smooth) and ½” for all other styles (Diamondtrax, Vinyltrax) should be left at the walls and/or any other immovable objects such as cabinets, vehicle lifts, support beams, etc.
![Installation Instructions]()
![Step 2 - Locate Starting Point]()
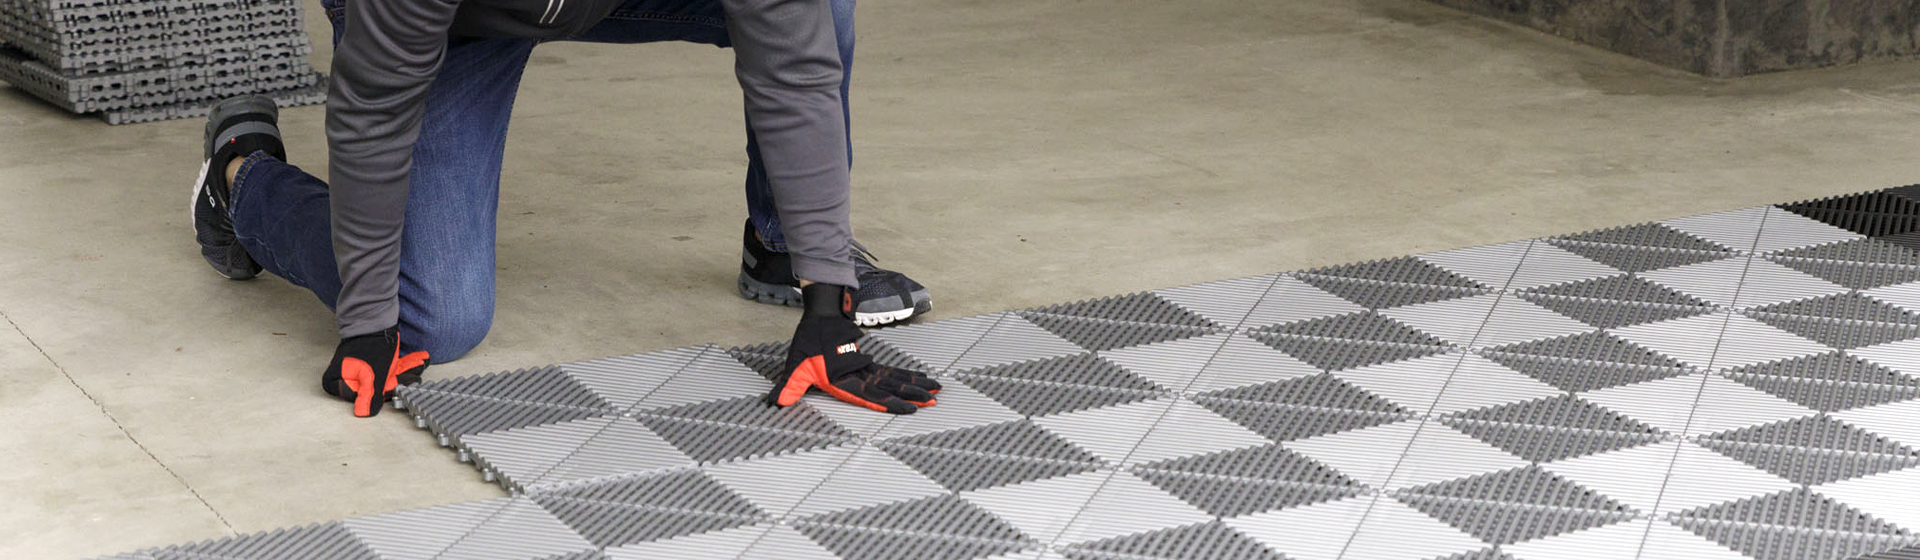
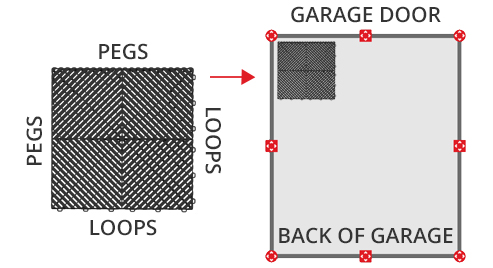
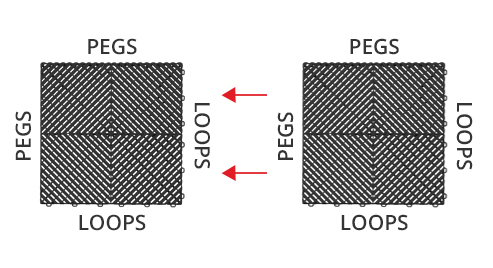
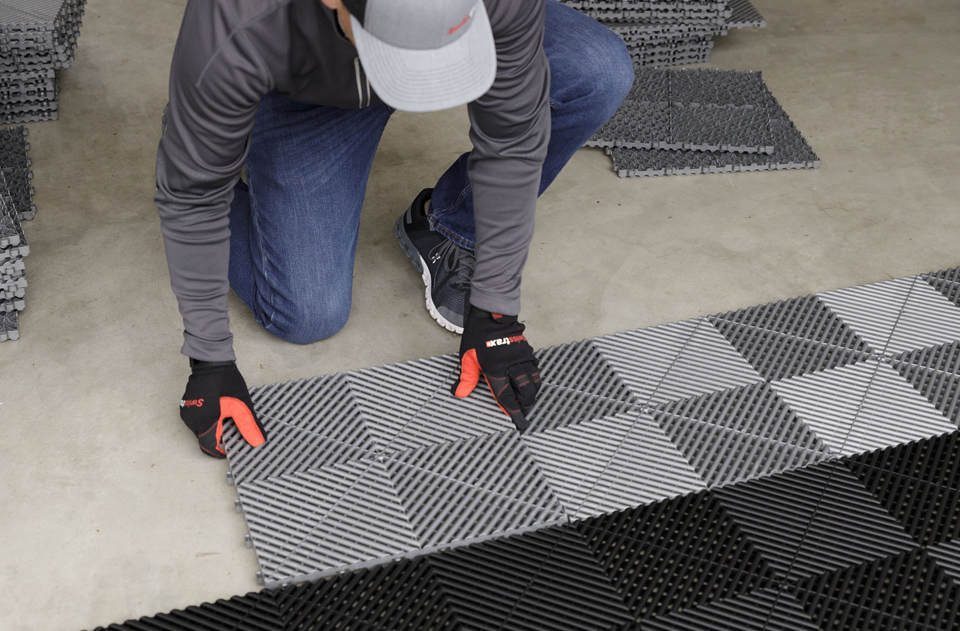
- Step 3 – Installing Tile (Loop & Peg Direction)
- Place the first tile (Tile A) in the top left corner of the garage with the pegged “male” sides facing the left wall and the garage door entry way.
- Remember to leave a 1/4″ expansion gap be tween the tile and wall.
- PRO TIP: If your garage has any obstructions like cabinets, you can start in the upper right corner if needed. Just make sure the pegged sides of the tile face the garage entry and right side of the wall.
- *Depending on the weather in your area and if you keep your garage door open for long periods of time, varying temperatures may have an effect on the flooring system.
![FAQ 3 - Installing Tile]()
- Step 4 – Installing First Three Rows
- Work left to right, interlock Tile B with Tile A making sure that loops and pegs are facing the same direction.
- Continue with your first row until the right wall is reached.
- Return to the left wall and repeat the installation steps from the first row, until the first three rows are completed.
- *Trimming tile is typically required in a wall-to-wall install. Lay tiles aside until the majority of the flooring system has been installed. Refer to the ‘Cutting Recommendations’ in Step 7 - Final Steps & Cutting.
![Step 4 - Installing First Three Rows]()
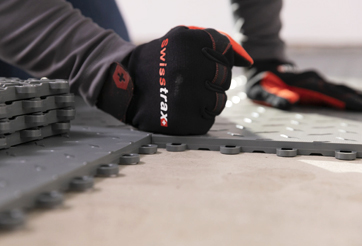
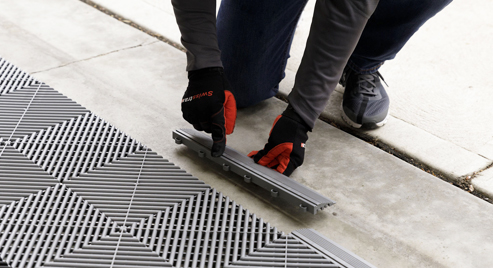
- Step 5 – Edge Installation (Garage Entry)
In your Swisstrax delivery, you should have received looped “female” edges or pegged “male” edges if ordered with tiles.
- Following completion of the first three rows, connect the edges to the first installed row nearest to the garage door entry.
- Edges are only needed between the garage door rails.
Option #1: Female Edge + Tile
- Lift up tile and align the female/looped edge with the male/pegs of the tile, and snap into place.
![FAQ Edges]()
Option #2: Male Edge + Tile
- Hover above and align the edge male/pegs with the female/looped of the tile, and snap into place.
Attaching the Edge
- With pegs and loops aligned, begin by pressing the sides of the tile into the edge, working your way to the center. This may take a little pressure, and you will feel a “snap” when the tile is attached to the edge.
*Edges may have to be cut to fit within garage door rails.
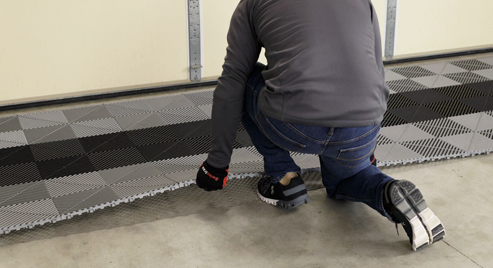
- Step 6 – Aligning Edges with Garage Door
- Once the edges have been installed, close your garage door and push the flooring system forward until it's pressed up against the inside of the garage door.
- We recommend having two people to help with this process to ensure proper alignment with the garage door.
- PRO TIP: If your garage slab is higher than your driveway slab, you will want to make sure your edge pieces are installed at least 2" back from any vertical lip.
![FAQ Push Floor Forward]()
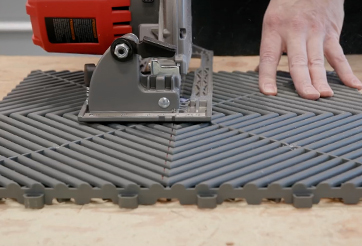
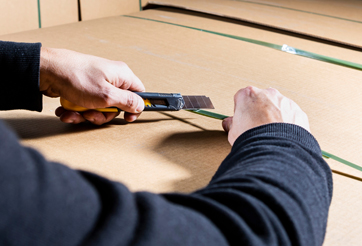
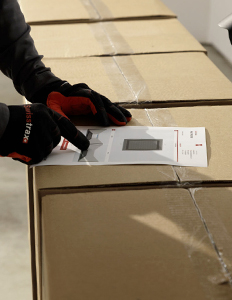
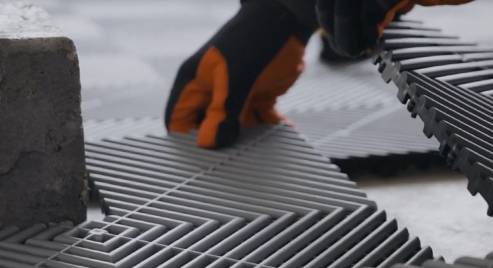
- Step 7 – Final Steps & Cutting
- Resume installing tiles until the back wall is reached.
- Be sure to check the alignment of your floor as you progress.
- Cutting may be necessary along the back wall to complete install.
Cutting Recommendations:
- All Swisstrax® products can be cut with an electrical saw such as a circular saw, jig saw, table saw, etc.
- A fine toothed blade is recommended.
*When making your cuts, be sure to position your tile accordingly to ensure it interlocks with the rest of your flooring. Refer to the tool manufacturer’s safety guidelines.
*WARNING: Do not walk on tiles that are not interlocked together as they can be a dangerous slipping hazard. When installing your floor, be cautious of Swisstrax tiles placed on top of one another.
![FAQ Cut Tiles]()
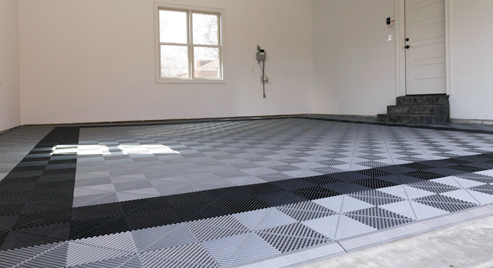
- Step 8 – Enjoy Your Floor!
Be the envy of your neighbors with your new Swisstrax flooring system. Install in hours, enjoy for decades. For additional installation assistance, reach out to our Swisstrax flooring specialists today by calling 1-866-748-7940. See how Swisstrax flooring systems can be used for multiple applications within your house, for businesses, and even for special events.
![FAQ Final Floor]()
Swisstrax How-To Video /Installation 101
Watch the Swisstrax Installation 101 video to see how to install Swisstrax flooring systems. This easy step-by-step video walks you through flooring preparations, tile installation, and custom cutting tiles to fit your space.
Installs Are Better With Music /Check Out The Official Swisstrax Playlist
Installing your new garage floor is easier than you think, and it’s even better with music.
Scan the QR code and listen to our Swisstrax Installation Playlist on Spotify while you upgrade your space.